After being in the headlines for months, Windows 11 OS will be made available for all eligible consumers from October 5th. You are ready for the new and exciting OS but not sure how to get Windows 11 updated on your PC? If your PC meets the system requirements, you’ll be able to download and install the OS without any issues. Wondering how you can do that? Here’s an easy guide on what you need to do to upgrade to Windows 11.
How to check if your device is compatible with the upgrade?
According to Microsoft’s statement, if you have Windows 10 in your system, the upgrade will be free, provided that your system fits the eligibility criteria. We spoke about the system requirements in this blog. You can also head out to the Microsoft page to check on the system requirements. Alternatively, you can check if your PC is compatible by installing the Microsoft PC Health Check app.
You have to be a member of the Windows Insider Program to install the Microsoft PC Health Check app. If you’re new to the program, you can sign up for free by going to the Windows Insider page and clicking on the Register button. Once you’ve successfully signed in, you’ll be able to access the PC Health Check app. Install the app and click on the “Check Now” button next to “Introducing Windows 11” on the home page.
How to upgrade to Windows 11 as a general consumer?
If you have an eligible system, you’ll be able to download and install the OS like you usually upgrade OS versions. Here’s how you can do it.
Step 1: Open Settings on your PC.
Step 2: Select “Update & Security”.
Step 3: Navigate to “Windows Update and click “Check for updates”.
Step 4: Click “Download and install” for the “Feature update to Windows 11” option.
But remember that even though Windows 11 will be available from October 4th, it might take a couple of months for your device to get the update. As per Microsoft’s notice, new PCs will receive the upgrade first. It is estimated that by mid-2022, all eligible devices will be able to upgrade to the Windows 11 OS.
How to download Windows 11 using the Windows Insider Program?

If you can’t wait till the general release is completed, you can try out the Windows 11 OS. With a Windows Insider Program membership, you’ll be able to download a preview build of the Windows 11 OS. However, it is highly recommended to run this preview only on a test machine. This is because it’s not the final version, and there may be unresolved bugs or missing features. Before you begin, make sure you have licensed Windows 10 on your device and that you have administrative access.
Step 1: Signin to your Windows Insider account and click on “Start flighting”.
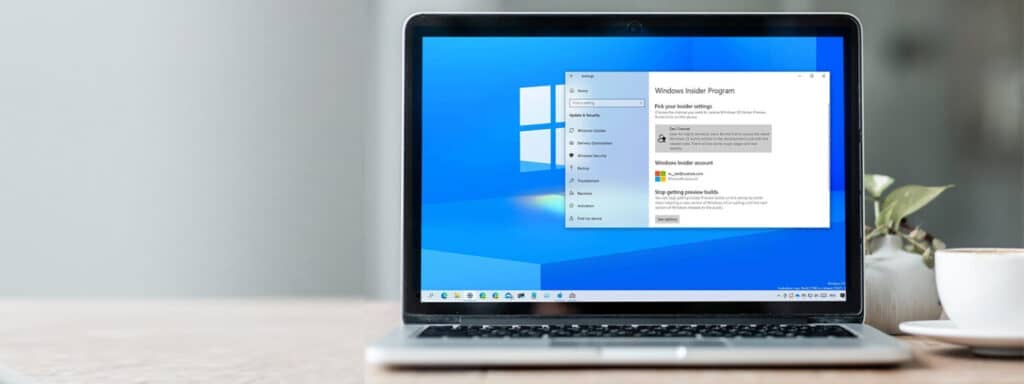
Step 2: Open Settings and navigate to Windows Insider Program in the Update & Security section.
Step 3: In the dialogue box, click on “Get Started”.
Step 4: Select your connected Microsoft account on the “Pick an account to get started” option and continue.
Step 5: Follow the instructions to choose your preferred channel for preview builds- the Dev channel, the beta channel, or the release preview channel. For the Windows 11 preview build, you should choose the Dev channel. However, this channel will give you access to other updates as well. It’s important to think it through before making a choice here because if you install a build via a channel, you’ll have to start from Step 1 if you want to switch to a different channel.
Step 6: Read through the Privacy statement and confirm.
Step 7: Click on “Restart Now”.
Step 8: Once the system restarts, check if the settings are in place by going to Settings>Privacy>Diagnostics & feedback. If the Optional Diagnostic Data switch isn’t On, flip it.
Step 9: Follow the steps for the usual Windows Update process by opening Settings>Update & Security>Windows Update>Check for updates.
The Insider Preview build will now be accessible for you, and you’ll be able to use the Windows 11 preview package on your device.


