How to Replace Your Laptop’s DC Jack: A Step-by-Step Guide
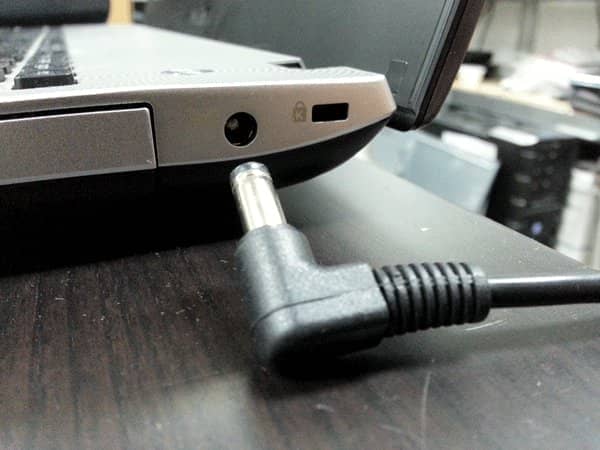
Laptops, like all gadgets, aren’t immune to wear and tear. One common issue many face is a malfunctioning battery or power-up process. Often, the culprit is a faulty DC jack – the port connecting your laptop to its power source. Over time, this jack can become loose or damaged due to frequent use. If you’re tech-savvy and have a basic understanding of laptop repairs, this guide will walk you through the DC jack replacement process.
Steps for Efficient DC Jack Replacement:
1. Identify the DC Jack Type: Before diving in, ensure you have the correct replacement. DC jacks vary, so identify the right type by checking your laptop’s model number or consulting the manufacturer.
2. Prepare Your Laptop: Safety first! Turn off your laptop and remove the battery. Unscrew and gently remove the bottom cover, granting you access to the motherboard.
3. Locate the DC Jack: The DC jack is embedded in the motherboard. To access it, unscrew and carefully lift the motherboard out of the laptop casing.
4. Remove the Faulty DC Jack: Spot the damaged DC jack on the motherboard. Using a soldering iron, desolder the jack’s pins and detach it. Exercise caution to avoid any damage to the motherboard.
5. Install the New DC Jack: With the old jack out, solder the new DC jack onto the motherboard. Ensure a secure fit and that the soldering is done correctly.
6. Reassemble Your Laptop: Once the new jack is in place, reassemble your laptop. This involves placing the motherboard back, securing all screws, and reconnecting any detached cables.
7. Test Your Handiwork: Reconnect the battery and power cord. If your laptop powers on and the battery charges, congratulations! You’ve successfully replaced the DC jack.
Final Thoughts
While this guide simplifies the DC jack replacement process, if you’re hesitant about DIY repairs, it’s wise to consult professionals. For expert assistance, consider reaching out to tech4service.ca.