Your Comprehensive Guide to Printer Installation in Edmonton
Navigating the world of printer installation can be a daunting task, especially if you’re not tech-savvy. However, with the right guidance, it becomes a breeze. Here’s a simplified, step-by-step guide to ensure a smooth printer installation in Edmonton.
Step-by-Step Printer Installation for Edmonton Residents
Step 1: Unboxing and Inventory Check
Begin by unboxing your printer. Ensure all essential components, such as ink cartridges, power and USB cables, and the software disc, are present. If anything’s amiss, reach out to the retailer or manufacturer promptly.
Step 2: Powering Up
Connect the power cable to your printer and an electrical socket. Switch on the printer and allow it some time to initialize. Always refer to the user manual for specific guidelines.
Step 3: Setting Up Ink Cartridges
Before you start printing, you’ll need to set up the ink cartridges. Remove them from their protective packaging and slot them into their respective chambers in the printer, ensuring you follow the provided instructions meticulously.
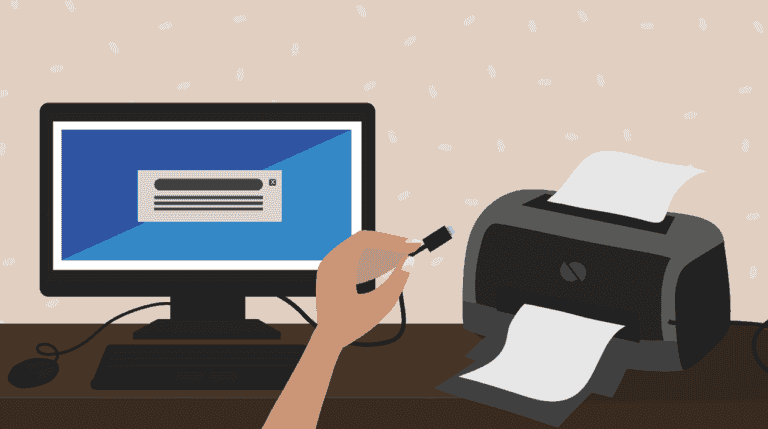
Step 4: Connecting to Your Computer
Using the USB cable, establish a connection between your printer and computer. Once connected, your computer should automatically recognize the printer and initiate the driver installation.
Step 5: Software Installation
Insert the software disc that accompanied your printer into your computer’s disc drive and follow the on-screen prompts. If your computer lacks a disc drive, you can always download the necessary software from the manufacturer’s official website.
Step 6: Fine-Tuning Printer Preferences
Once the software is up and running, access the printer settings on your computer. Navigate to ‘Devices and Printers’ from the Start menu and select your printer. Here, you can customize settings such as print quality, paper size, and ink consumption.
Step 7: The Test Run
To ensure everything’s in order, print a test page. Head over to the printer settings, select your printer, and opt for “Print Test Page.” If there are any discrepancies, double-check your connections and configurations.
Step 8: Official Registration
For future support and updates, register your printer with its manufacturer. This proactive step can be invaluable for troubleshooting down the line.
In Conclusion
While printer installation in Edmonton might seem intimidating at first glance, this guide demystifies the process. However, if you’re pressed for time or prefer a professional touch, consider hiring an expert from tech4service.ca to handle the installation for you.